Summer Home Safety Tips: Protecting Your Home During the Hottest Months
Summer brings longer days, backyard barbecues, and vacation plans — but it also brings a unique set of risks to your home. From soaring temperatures to severe storms and increased outdoor activity, the season demands a few extra precautions. Here’s what every homeowner should keep in mind to stay safe and avoid costly surprises.
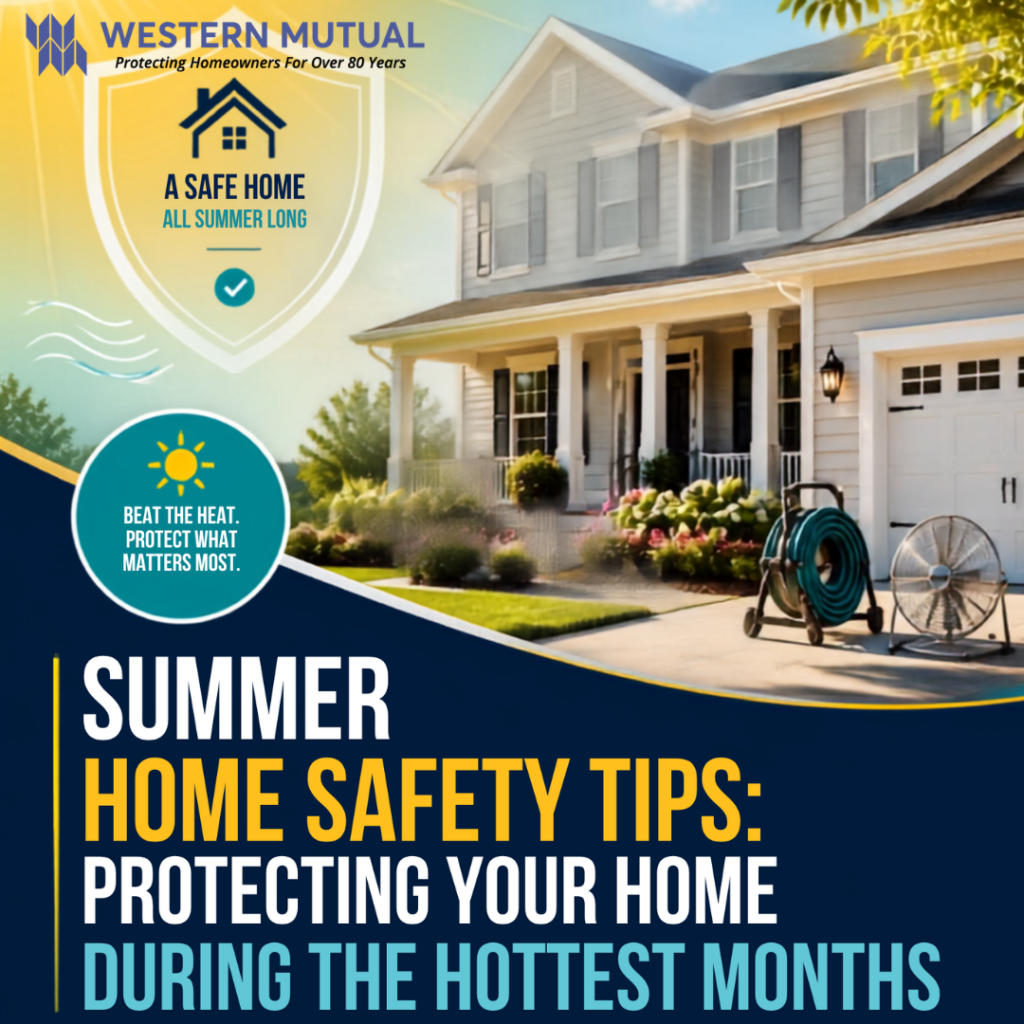
1. Beat the Heat Safely
High temperatures put stress on both people and homes.
- Service your HVAC system. Have your air conditioning unit inspected and cleaned before peak summer heat hits. A well-maintained system is less likely to fail during a heat wave — and less likely to become a fire hazard.
- Check for carbon monoxide and smoke detector batteries. Summer storms and power outages are a good reminder to test detectors twice a year.
- Watch for signs of electrical overload. Window units, fans, and extra appliances can strain older wiring. Avoid overloading outlets with extension cords.
2. Grill Responsibly
Grilling fires spike every summer, especially around holidays like the Fourth of July.
- Keep grills at least 10 feet away from your house, deck railings, and overhanging branches.
- Never leave a lit grill unattended.
- Keep a fire extinguisher or baking soda nearby for grease flare-ups — never use water on a grease fire.
- Clean grease traps and burners regularly to prevent flare-ups.
3. Prepare for Severe Weather
Summer storms can bring high winds, hail, and lightning with little warning.
- Trim trees and shrubs near your home to reduce the risk of falling limbs during storms.
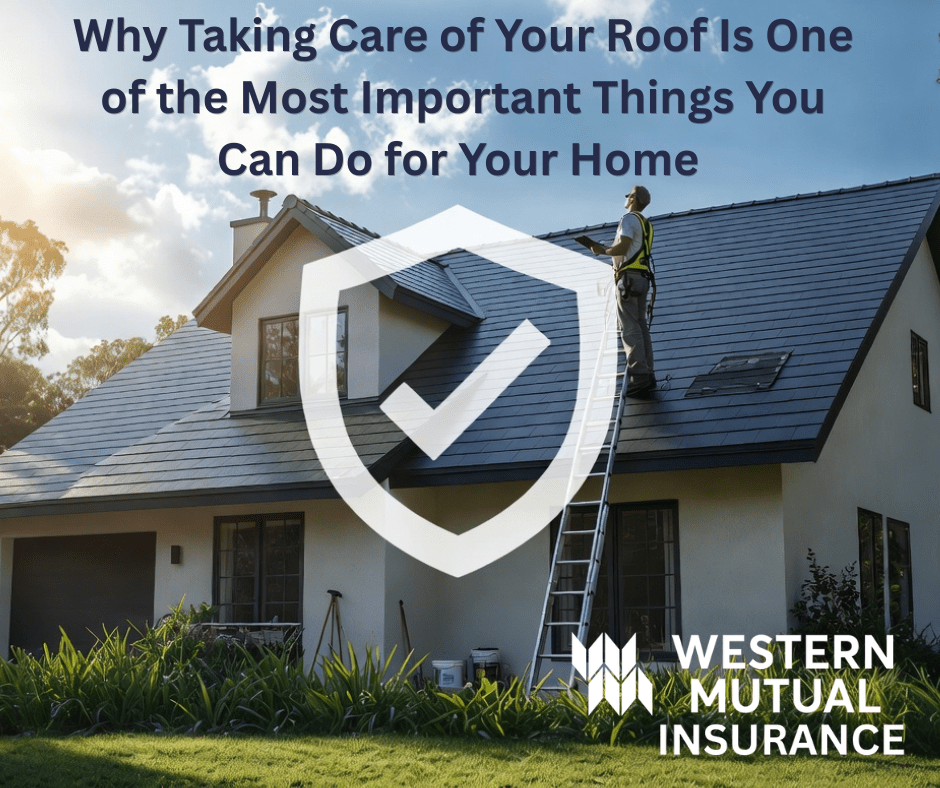
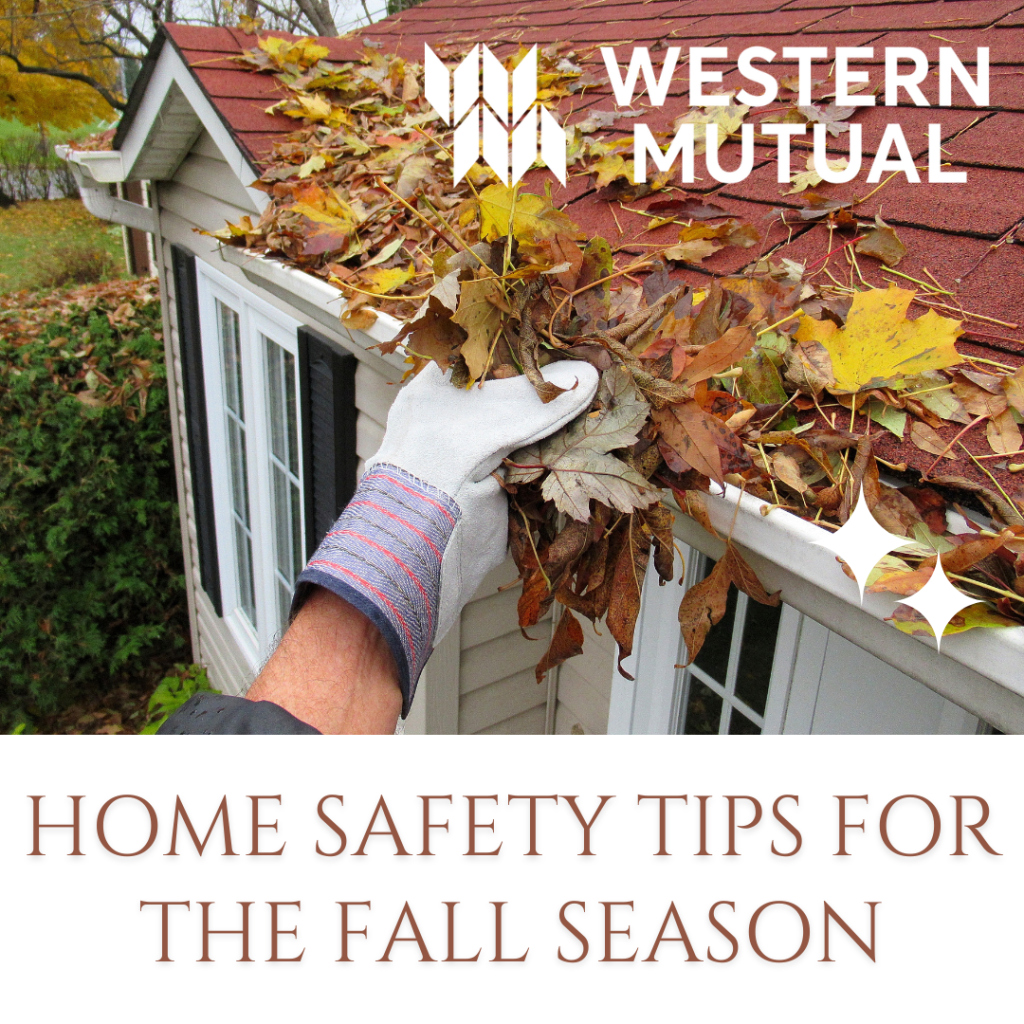
- Inspect your roof and gutters for loose shingles or debris that could worsen storm damage.
- Unplug sensitive electronics during lightning storms, or use surge protectors.
- Know your evacuation routes if you live in an area prone to flash flooding or wildfires.
4. Pool and Water Safety
If you have a pool, spa, or even a kiddie pool, safety barriers matter.
- Install self-closing, self-latching gates around pool areas.
- Never leave children unsupervised near water, even briefly.
- Keep pool chemicals stored in a cool, dry, and secure location away from direct sunlight.
5. Guard Against Wildfires
In drought-prone regions, summer is peak wildfire season.
- Clear dry leaves, brush, and debris from around your home’s foundation and roofline.
- Store firewood and flammable materials away from the house.
- Consider fire-resistant landscaping (sometimes called “defensible space”) if you live in a high-risk area.
6. Secure Your Home While Traveling
Summer vacations mean empty houses — and opportunity for break-ins.
- Use smart plugs or timers to make it look like someone’s home.
- Ask a neighbor to collect mail and packages, or pause deliveries.
- Double-check that all windows and doors are locked, including garage entry points.
- Consider a video doorbell or security camera for peace of mind while you’re away.
Final Thoughts
A little preparation goes a long way toward a safe, worry-free summer. Taking care of these simple maintenance and safety steps now can help you avoid emergencies — and expensive repairs — later in the season.